Army of Jobe
Wanderer
Hello, I've loved UO for a long time and I'm so happy to have stumbled upon Hybrid and RunUO. You guys are amazing, and I thank you so much for everything you have done (I've "donated" about $60 and see a lot more going your way!). While I've noticed that some people have made guides to get people started on using OSX/Linux to natively play UO through wine... most of those guides have been incomplete and leave the game slightly less than 100%. This guide will get you up and running with all of the things you love (including hotkeys!).
Anyways, on to what the topic says: Running UO/Razor on OSX. This is a rather complete guide, and I'm looking to make it as easy to use as possible. As a result of this, there is going to be some redundancy and lots of pictures. Even if you are an advanced user, I suggest following all of the steps to ensure that everything (including counters/hotkeys/checkboxes/everything!) works correctly.
Things you'll need to download:
1) WineBottler @ http://winebottler.kronenberg.org
2) Ultima Online Classic Client @ http://www.uoherald.com/downloads
3) Razor @ http://www.runuo.com/razor/download.php
Step 1) Getting everything downloaded and initial Wine setup:
Go to http://winebottler.kronenberg.org and download WineBottler.
Copy both applications "Wine" and "WineBottler" to your Applications folder.
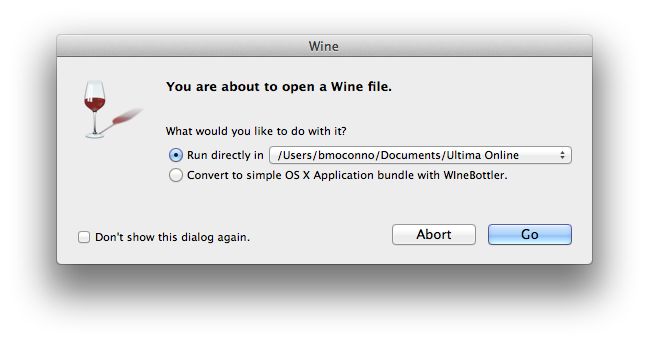
Run "Wine", then click on the Wine Glass located in your top menu bar and select "Change Prefix".

Click "Add" then change the name in "Save As" to something like "Ultima Online". This is going to be the location where your installation of UO and Razor will be located. It's a pretty good idea to leave it in your "Documents" folder, unless you have a specific location already in mind. This process will take a moment to "setup" all of the necessary files and folders for Wine to operate from that location.
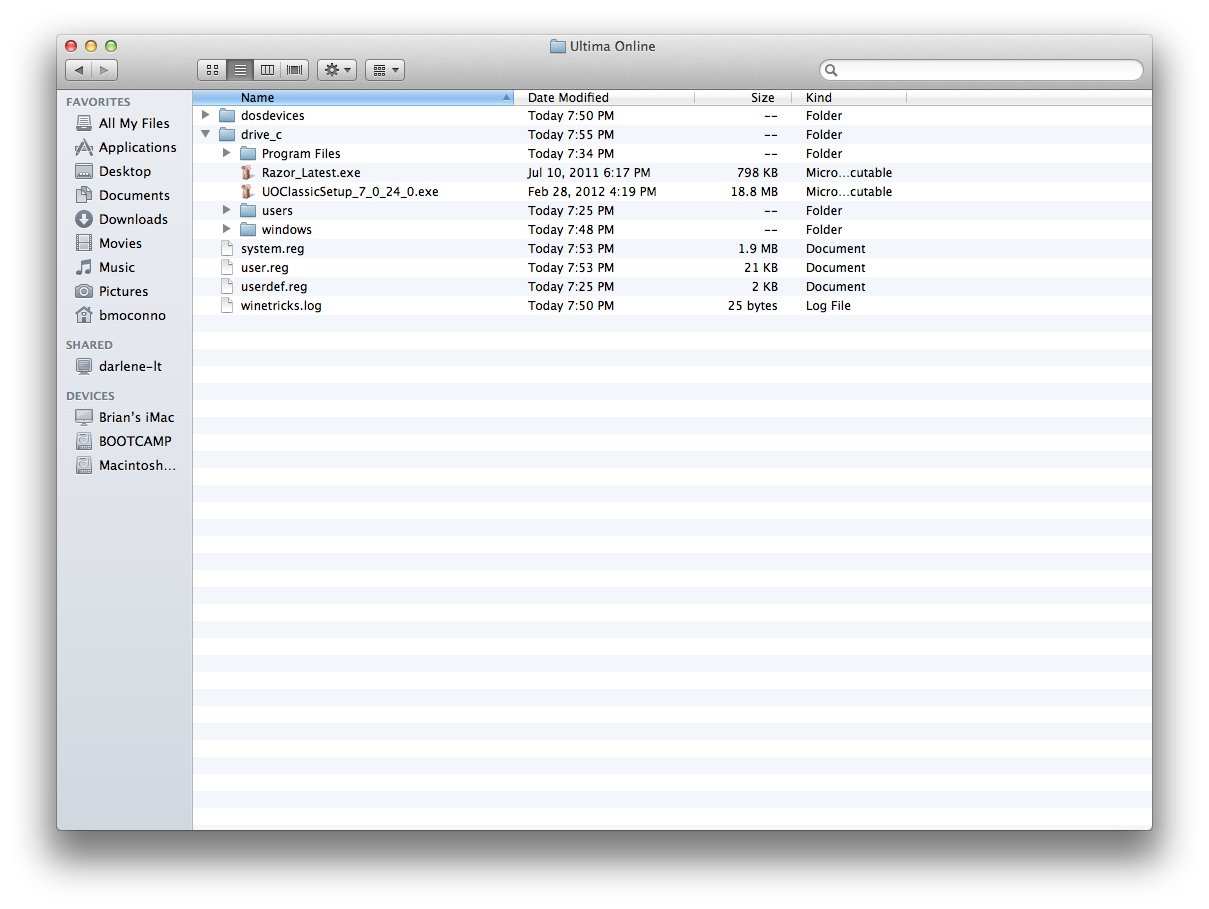
Download the Ultima Online and Razor setup files and copy them into the "drive_c" folder of the prefix location you decided on in the previous step. (Example: Documents->Ultima Online->drive_c)
Step 2) Setting up Winetricks:
Click on the Wine Glass located in your top menu bar and select "Winetricks".
Click the check boxes next to the following items:
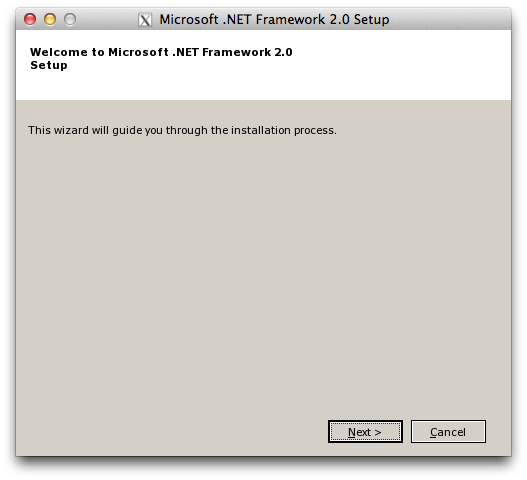
dotnet20 - This is required to run Razor.
fontfix - This prevents Razor from crashing when people use custom fonts in chat.
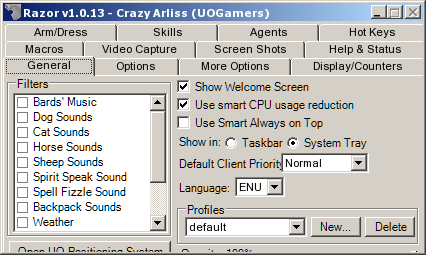
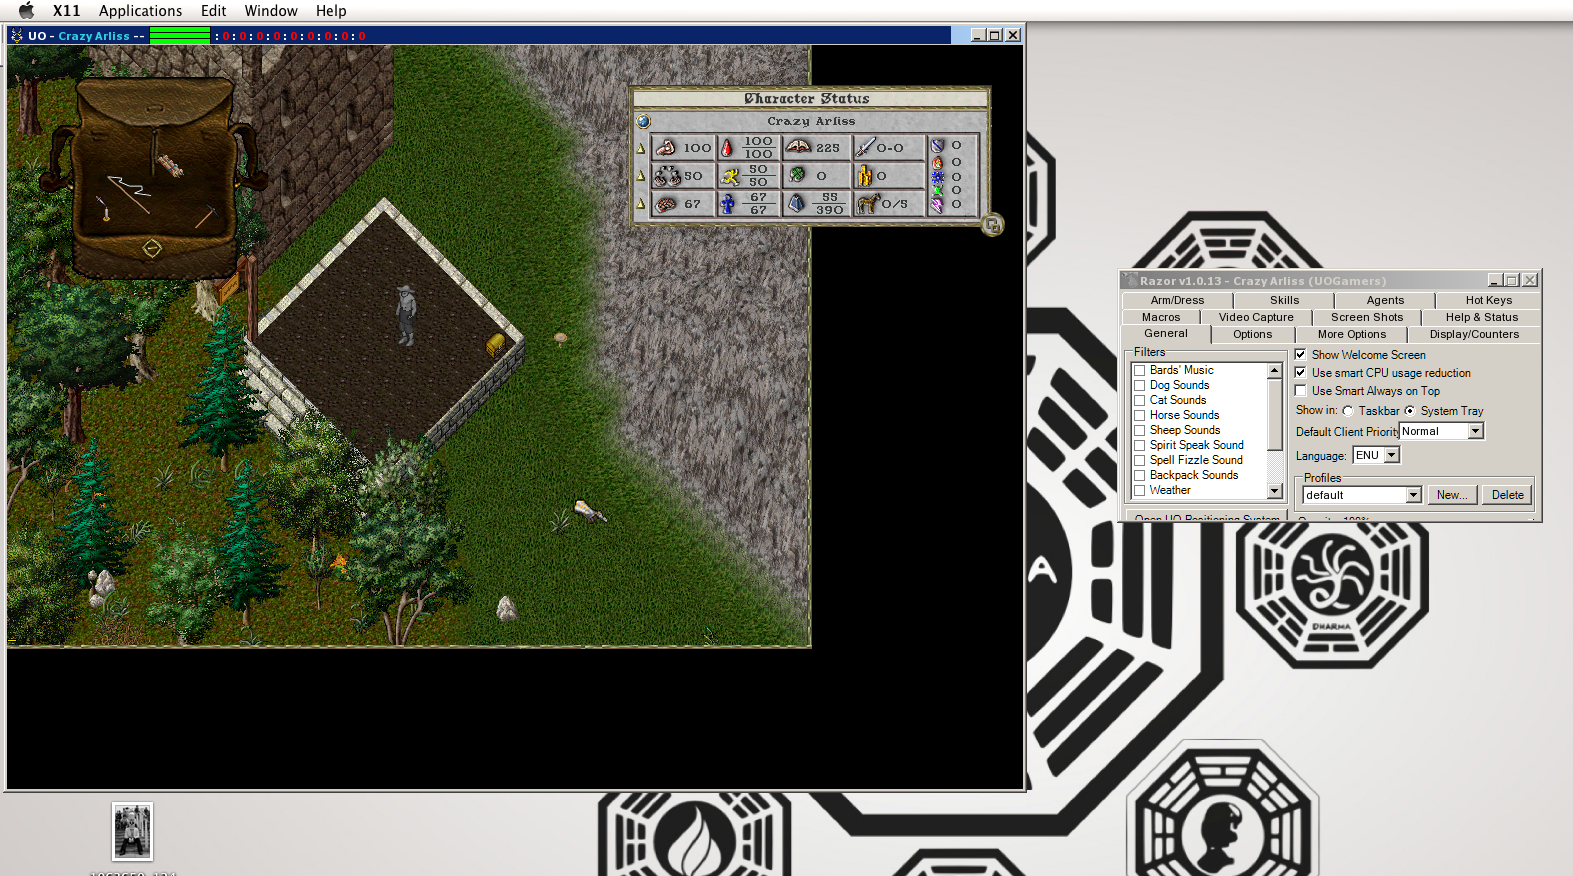
The following two are optional! These fix an issue with checkboxes and drop boxes not displaying properly in Razor. If you apply these, the very bottom of your Razor screen will not be seen because of the fixed dimension of the Razor client (see picture).
gdiplus - This allows checkboxes and drop lists to work correctly in Razor.
wininet - This fixes a crash in Razor's "Help & Status" tab.
Press the "Apply" button and work your way through the Next->Next->Next installs as you would normally do on a windows computer. This process might take a few minutes, as each package will be downloaded and installed.
Step 3) Setting up Wine for UO/Razor:
Click on the Wine Glass located in your top menu bar and select "Configuration".
Click on the "Graphics" tab and uncheck the "Allow the window manager to decorate the windows" check box. This will allow Razor's counters/timers to show up as they had been intended to.

Step 4) Installing UO and Razor:
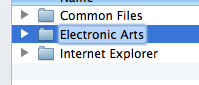
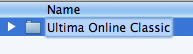
From Finder go to your prefix ("Ultima Online" folder in "Documents") and navigate to "drive_c->Program Files", in that folder create a "Electronic Arts" folder then create an "Ultima Online Classic" folder inside of that folder. Giving you a folder hierarchy of "drive_c->Program Files->Electronic Arts->Ultima Online Classic". This step is necessary because some versions of the Ultima Online installer can't seem to create the directory structure on it's own.
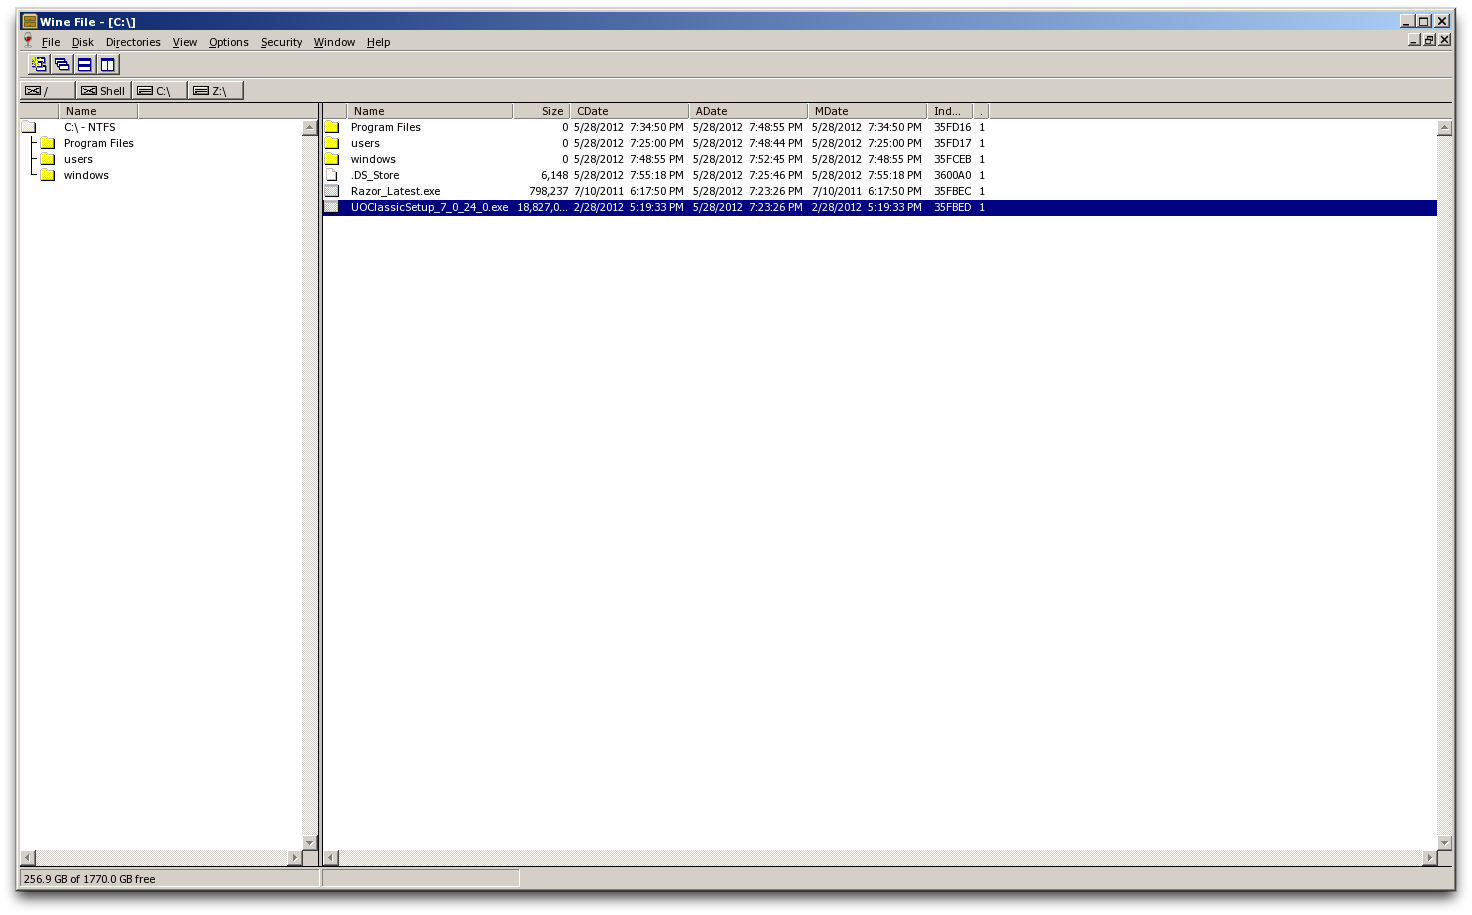
Click on the Wine Glass located in your top menu bar and select "File Manager"
Double-click the "UOClassicSetup" file to install the UO Classic client, this should progress in the manner you're used to. If you find you're self not being able to select a destination folder, you probably skipped the first part of this step. You need to quick the installed, then create the folders I listed, then relaunch the installer.
Once the UO Classic client has been installed, navigate to the UO directory in "File Manager" and double-click the "UO.exe" file to begin the patching process.
After UO has been completely patched, you can install Razor. This is accomplished by navigating to the location of the "Razor_Latest.exe" file and double-clicking it. This install should proceed as normal and requires no special steps/work-arounds.
Step 5) Configuring X11:
While you still have the "File Manager" open and as the current window, click on the "X11" at the top menu bar (Near the Apple icon) and choose "Preferences".
Under the "Input" tab check the boxes next to "Follow system keyboard layout" and "Enable key equivalents under X11" and "Option keys send Alt_L and Alt_R". This will allow Razor and UO to use custom shortcut/macro keys, including "Control/Alt+<key>" shortcuts.

Step 6) Create a shortcut/alias for Razor/UO.
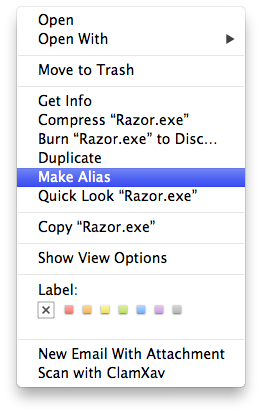
Once everything else is down, use Finder to navigate to the location of your installed Razor. Control+Click on the "Razor.exe" file and "Make Alias". Name the newly made alias something like "Ultima Online" and copy it to your desktop/applications/menubar and use that icon to launch the game!
Step 7) Play UO!!
Thank you everyone for reading this guide and please, let me know if there are any questions or corrections that you think need to be made. It took me an hour or so to get this all going, figuring out how to get hotkeys/shortcuts to work took me the longest, but I'm 100% satisfied with the results.
P.S. I know this belongs in the guides section, but I was unable to post there. If a mod could please move this, that would be greatly appreciated.
Anyways, on to what the topic says: Running UO/Razor on OSX. This is a rather complete guide, and I'm looking to make it as easy to use as possible. As a result of this, there is going to be some redundancy and lots of pictures. Even if you are an advanced user, I suggest following all of the steps to ensure that everything (including counters/hotkeys/checkboxes/everything!) works correctly.
Things you'll need to download:
1) WineBottler @ http://winebottler.kronenberg.org
2) Ultima Online Classic Client @ http://www.uoherald.com/downloads
3) Razor @ http://www.runuo.com/razor/download.php
Step 1) Getting everything downloaded and initial Wine setup:
Go to http://winebottler.kronenberg.org and download WineBottler.
Copy both applications "Wine" and "WineBottler" to your Applications folder.
Run "Wine", then click on the Wine Glass located in your top menu bar and select "Change Prefix".
Click "Add" then change the name in "Save As" to something like "Ultima Online". This is going to be the location where your installation of UO and Razor will be located. It's a pretty good idea to leave it in your "Documents" folder, unless you have a specific location already in mind. This process will take a moment to "setup" all of the necessary files and folders for Wine to operate from that location.
Download the Ultima Online and Razor setup files and copy them into the "drive_c" folder of the prefix location you decided on in the previous step. (Example: Documents->Ultima Online->drive_c)
Step 2) Setting up Winetricks:
Click on the Wine Glass located in your top menu bar and select "Winetricks".
Click the check boxes next to the following items:
dotnet20 - This is required to run Razor.
fontfix - This prevents Razor from crashing when people use custom fonts in chat.
The following two are optional! These fix an issue with checkboxes and drop boxes not displaying properly in Razor. If you apply these, the very bottom of your Razor screen will not be seen because of the fixed dimension of the Razor client (see picture).
gdiplus - This allows checkboxes and drop lists to work correctly in Razor.
wininet - This fixes a crash in Razor's "Help & Status" tab.
Press the "Apply" button and work your way through the Next->Next->Next installs as you would normally do on a windows computer. This process might take a few minutes, as each package will be downloaded and installed.
Step 3) Setting up Wine for UO/Razor:
Click on the Wine Glass located in your top menu bar and select "Configuration".
Click on the "Graphics" tab and uncheck the "Allow the window manager to decorate the windows" check box. This will allow Razor's counters/timers to show up as they had been intended to.
Step 4) Installing UO and Razor:
From Finder go to your prefix ("Ultima Online" folder in "Documents") and navigate to "drive_c->Program Files", in that folder create a "Electronic Arts" folder then create an "Ultima Online Classic" folder inside of that folder. Giving you a folder hierarchy of "drive_c->Program Files->Electronic Arts->Ultima Online Classic". This step is necessary because some versions of the Ultima Online installer can't seem to create the directory structure on it's own.
Click on the Wine Glass located in your top menu bar and select "File Manager"
Double-click the "UOClassicSetup" file to install the UO Classic client, this should progress in the manner you're used to. If you find you're self not being able to select a destination folder, you probably skipped the first part of this step. You need to quick the installed, then create the folders I listed, then relaunch the installer.
Once the UO Classic client has been installed, navigate to the UO directory in "File Manager" and double-click the "UO.exe" file to begin the patching process.
After UO has been completely patched, you can install Razor. This is accomplished by navigating to the location of the "Razor_Latest.exe" file and double-clicking it. This install should proceed as normal and requires no special steps/work-arounds.
Step 5) Configuring X11:
While you still have the "File Manager" open and as the current window, click on the "X11" at the top menu bar (Near the Apple icon) and choose "Preferences".
Under the "Input" tab check the boxes next to "Follow system keyboard layout" and "Enable key equivalents under X11" and "Option keys send Alt_L and Alt_R". This will allow Razor and UO to use custom shortcut/macro keys, including "Control/Alt+<key>" shortcuts.
Step 6) Create a shortcut/alias for Razor/UO.
Once everything else is down, use Finder to navigate to the location of your installed Razor. Control+Click on the "Razor.exe" file and "Make Alias". Name the newly made alias something like "Ultima Online" and copy it to your desktop/applications/menubar and use that icon to launch the game!
Step 7) Play UO!!
Thank you everyone for reading this guide and please, let me know if there are any questions or corrections that you think need to be made. It took me an hour or so to get this all going, figuring out how to get hotkeys/shortcuts to work took me the longest, but I'm 100% satisfied with the results.
P.S. I know this belongs in the guides section, but I was unable to post there. If a mod could please move this, that would be greatly appreciated.
")
 le:CoGetContextToken apartment not initialised
 CICreatePrimary 0x5cc 0x39812ac